Wednesday, February 23, 2011

foot gear

Last year I stopped wearing shoes, in the most common sense. Crocs, Teva sandals, shoes of no particular form, have been my experiment. Yesterday I hiked in last years hiking shoes and damn, my left foot was cramped by the time I made 8 miles. (I think my feet have spread out a bit) Frankly this isn't going to work for me. So here are my current thoughts, in visual form.

Above you see a pair of home made sandals that use a vibram sole that seems to be pretty grippy. You see two different ways to attach them to my feet. I don't know which would be better.  The next idea is to use moccasins.
Unfortunately, the sole of this kind of foot wear is smooth and not very grippy. WHAT to do? When I was laying awake, at 2:30 am last night (or this morning) I imagined I could find a way to use a grippy sole and make a groovy kind of shoe for myself. What do you think? I need more brain than I currently own.

Thursday, February 17, 2011

Got the OK on my reservation!

After standing by the fax machine this week, waiting till 5:01pm and hitting the send button, it appears I was one of the lucky (or speedy) ones and got a spot to leave Happy Isles and the OK on my permit. I leave Yosemite Valley on August 1 and hopefully arrive in Whitney Portal on August 19th or 20th.
From their website


Wilderness Permits
John Muir Trail
If you plan to hike the John Muir Trail as a continuous hike, you only need one wilderness permit for the entire trip (you do not need a "Whitney stamp"). Most people begin the hike at Happy Isles (its traditional start in Yosemite Valley), however many people begin at Lyell Canyon (Tuolumne Meadows) because permits for this trailhead are slightly easier to obtain. There is no special JMT permit.


Wednesday, February 16, 2011

Na-Nerd of the North

I've been thinking of buying a Ray Way bomber hat kit and pattern for a couple of years now and I finally did it. I started it this morning and now it's done! It wasn't a particularly fast project but never-the-less, I made it and it turned out fine! It's even reversible...
This kind of hat is not what anyone would call attractive but it will be warm and it only weighs...... 1oz. Pretty dang good. Still haven't started the shorts...

Sunday, February 6, 2011

The Sewing Begins!

Ten years ago I bought a pair of shorts in Yosemite Village to hike the JMT in. The shorts I brought to hike in were proving to be very uncomfortable so I popped for an expensive pair of shorts. Unfortunately the only shorts I could find that had generous side pockets were mens shorts so they didn't really fit, being too long in the torso for my short waisted self. They were perfect in every other way so I've been using them yearly since then. That is until last year when I destroyed them trying to put an iron-on patch to the seat of the shorts. Note to self: nylon melts when set-upon by an iron.

Since that time I have been looking in vain for a pattern similar to those favorite shorts to no avail. Apparently the people who make patterns for women don't think women want big pockets so I was SOL. That's when I got the idea to deconstruct my faves and use the pieces as a pattern...

Notice the red patch?
I hope I can remember how to reassemble them once I've cut out the new material. Speaking of new material...


Here you see the on-sale material I picked up to make a practice pair of shorts... (if there is only one, why are they called a pair)? English is confusing.


Below you will see the expensive material I will use to make the final hiking pair of shorts. It is Supplex material which is light but strong. Unfortunately the material is a very light color so  I reckon they will stain quite nicely, thank you very much.


So there you have it. I hope to get the practice shorts started soon and if they are successful I'll get brave, cut up the material from the supplex and make the for real shorts.

Planning for 2012

It might seem like a bit of over planning but I have announced to my friends that I will attempt to hike the Pacific Crest Trail beginning in April 2012. I have been thinking of this possibility for years now but it seems as though my work life will be coming to an end by this October and from that point forward I am available to hike as long as my body can hike and my mind wants to do so.


So there you have it. That tiny red line over there snakes along from Campo at the US/Mexico border north to the border of Washington and Canada. I have no idea if I can make it but there's no other way to find out other than stepping onto the trail and heading north.

I'll be going on about it here, probably to everyones dismay, for the next year and some. Any thoughts will be appreciated.

I will be posting gear lists, training schedules, pre-trips and anything else I can't keep to myself. I'm excited. And scared.

Monday, April 12, 2010

Make your own!

Think you can't afford to change out your old gear with newer, lighter equipment? Not so! There are simple and fun things you can do to get your pack weight down to feather weight portions. Some examples follow.

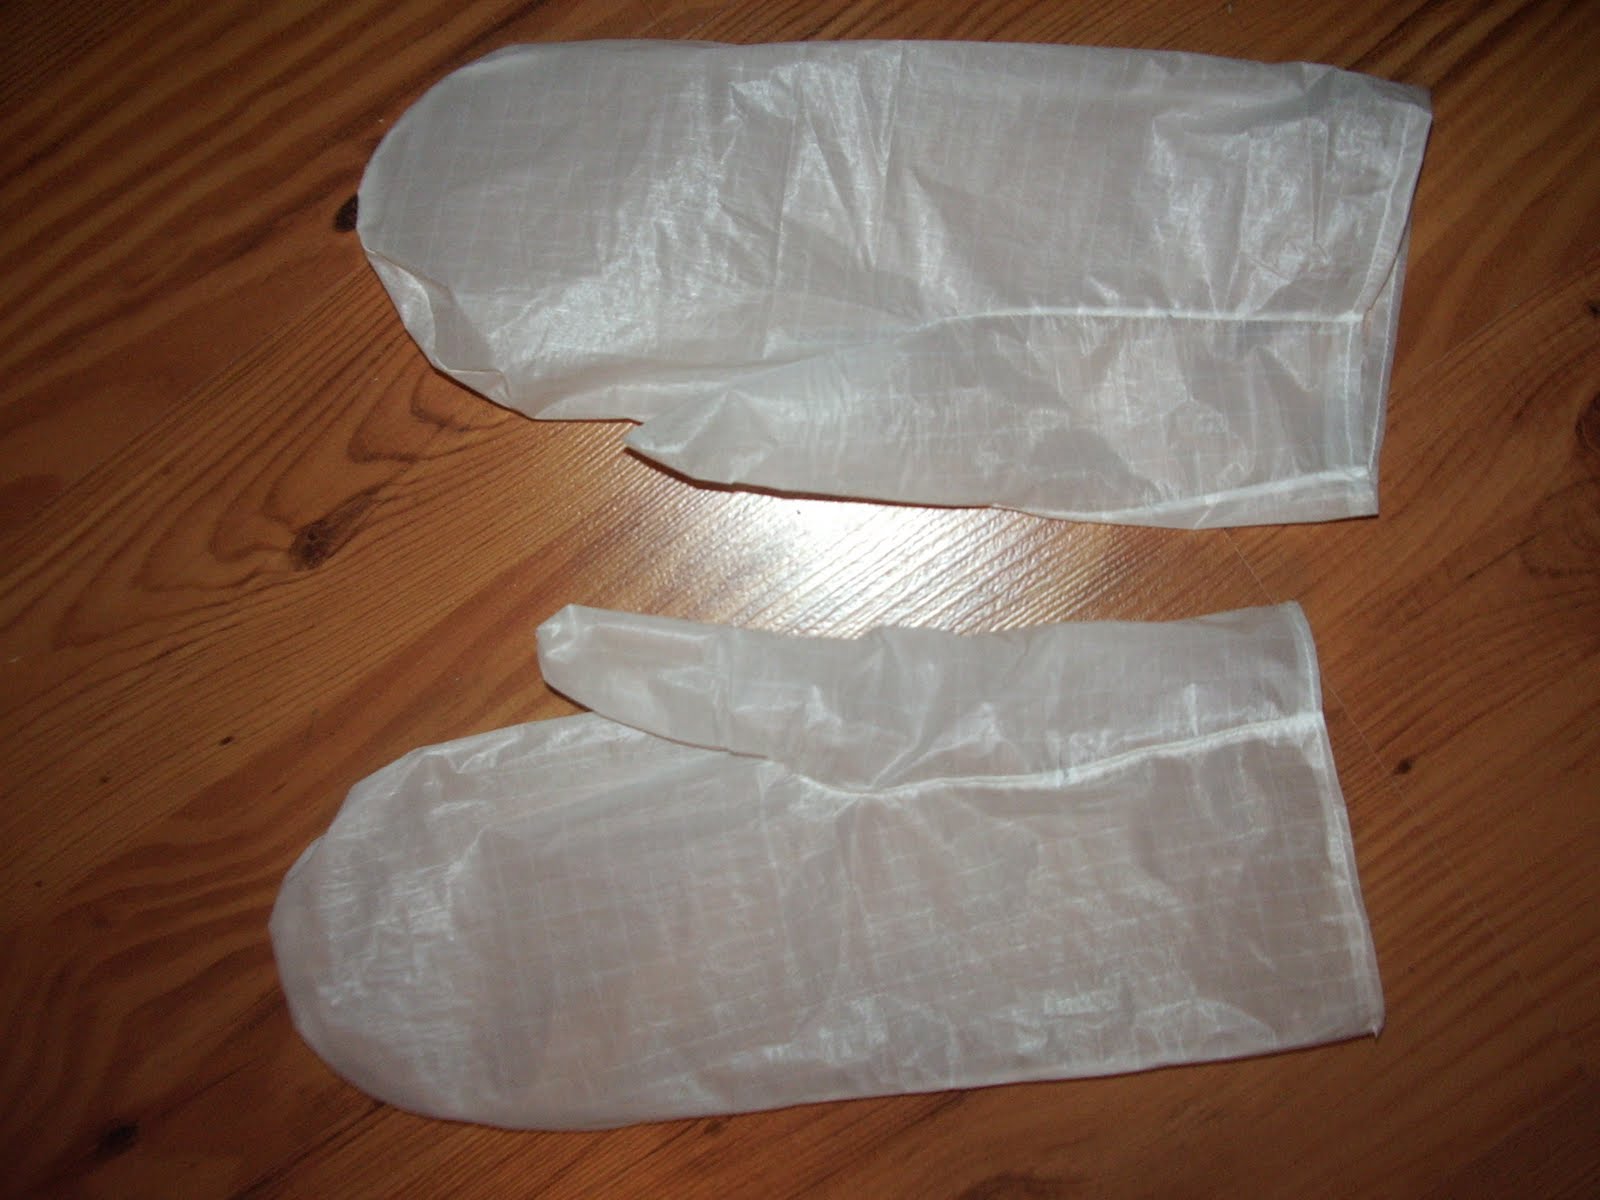
These water proof mitts are for use in cold and possibly rainy weather. They weigh .2 ounces for the pair and took me about two hours to make with a pattern I got from Rain Shed, an outdoor gear pattern company. The material is of spinnaker cloth, often used for sails. This material is light, waterproof and really strong though not very abrasion resistant.


This pair of fleece mitts were made with windproof material I had laying around. Again, a couple of hours and using the same basic pattern as above but not so fancy. You can use any old fleece thing or garment you have laying about or can find at a garage sale.  Easy to do and fun. They weigh 1.6 ounces for the pair. Combined with the waterproof over mitts above and you've got a very light weight and warm kit for your hands in the great out of doors. 


Last but not least, you see here a water carrying bag, made of the same spinnaker cloth as above. Also simple to make, I started with a 30 inch circle of material and carefully gathered it up until I had it tucked up into a bag shape. Using my trusty 1946 Singer sewing machine (purchased at a garage sale with all attachments for $10) I sewed it with trim and added handles. Nice, watertight and weighs only, wait... 
.8 ounces!